Creating a Timer Clock with Seconds Using Stagetimer (2-Min Guide)
Ever needed a timer clock with seconds visible on your web browser? Stagetimer makes it easy. In this guide, you’ll learn how to create and customize your own timer clock in no time.

1. Create Your Timer Clock
Kick off by creating a timer for free on Stagetimer with the following link. This will lead you to the controller page where you can then set up your timer.
2. Customize Your Clock
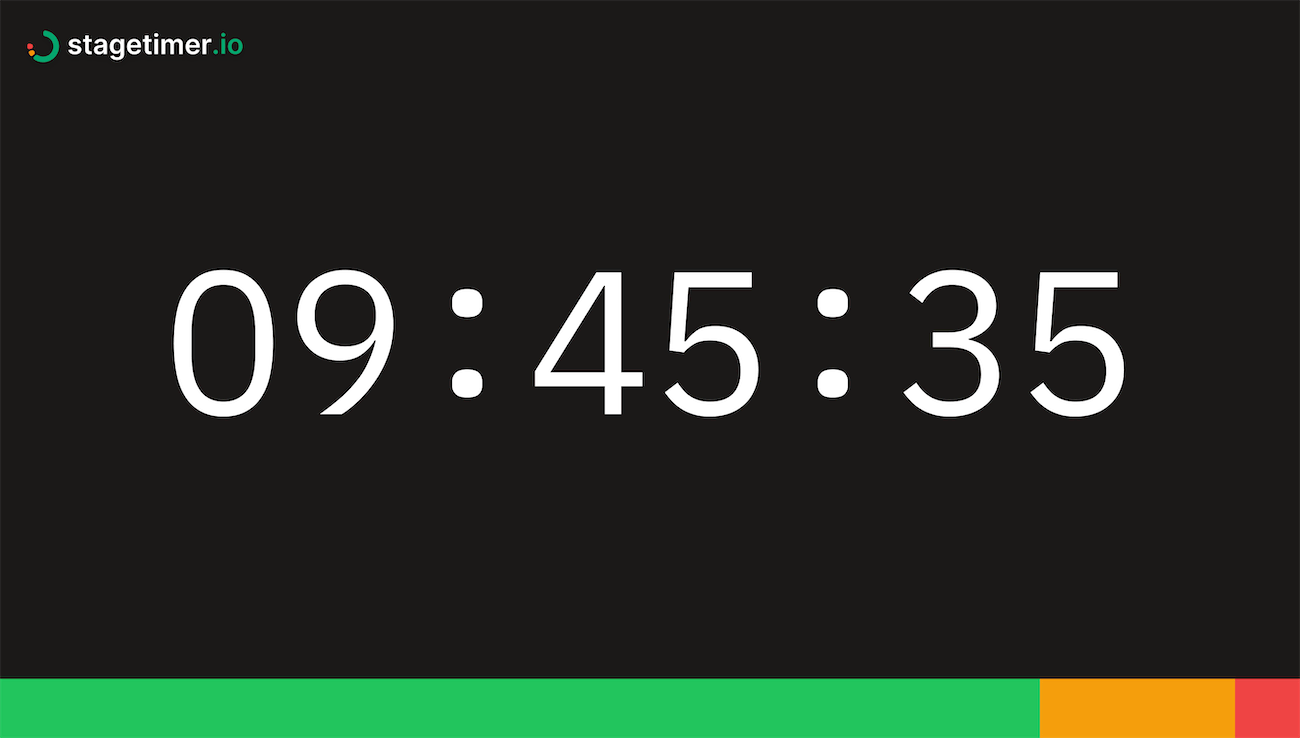
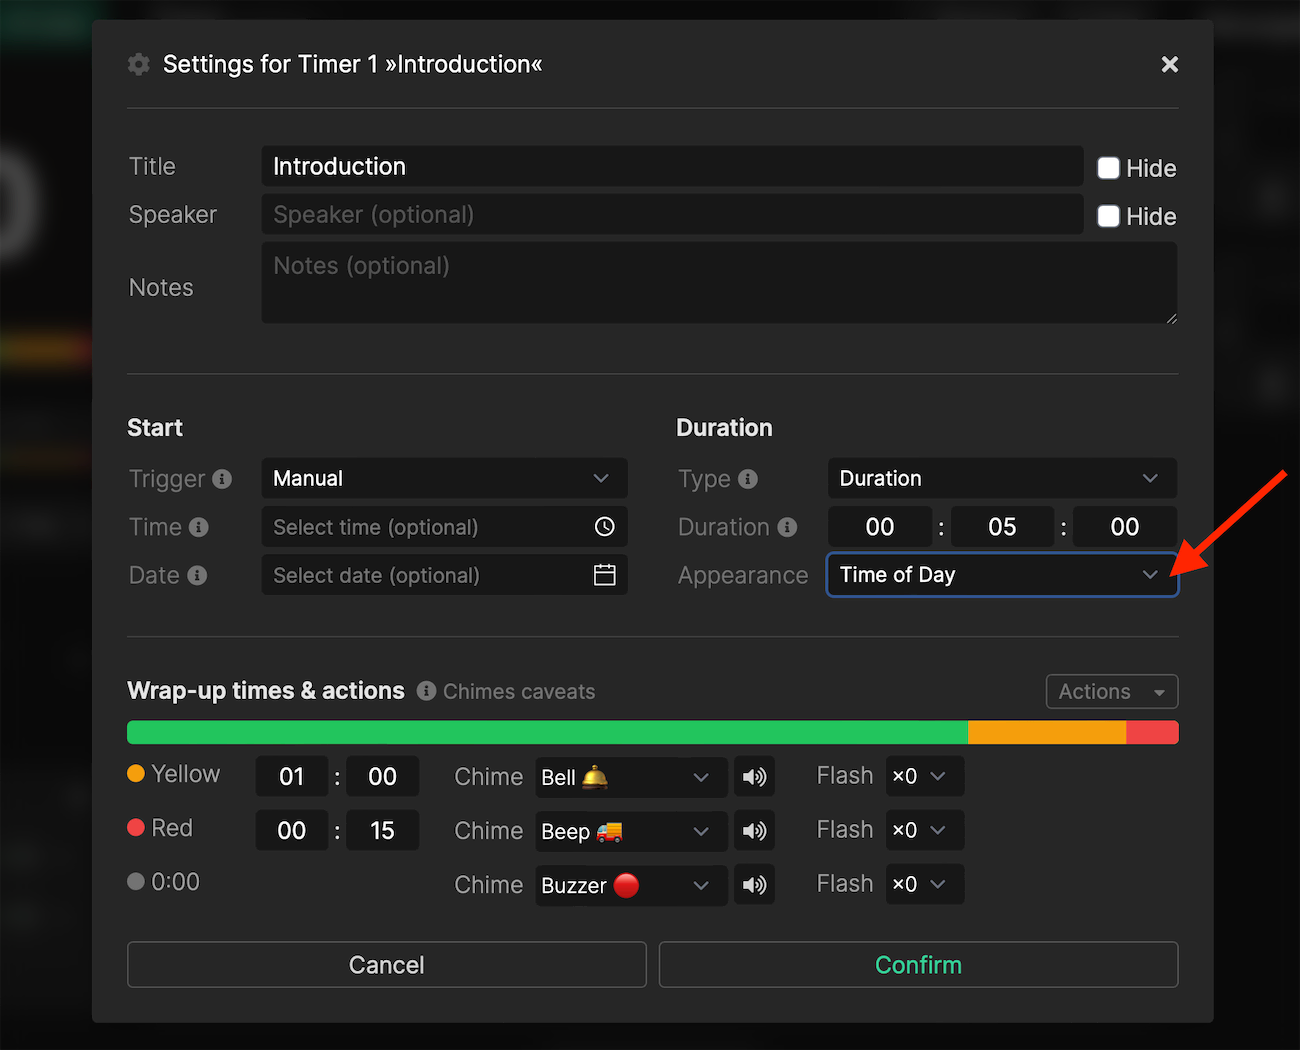
On the controller page, find the gear icon on your timer. Clicking this reveals all setup options. To turn your timer into a clock, head over to ‘Duration’ and adjust the ‘Appearance’ of the timer to ‘Time of Day’. This configures your timer to display the current time, including seconds.
If you’d like a more clean look, there’s an option to hide the title of the timer. Simply select the checkbox in the popup window to display only the clock.

3. Extra Customization
Want to remove the Stagetimer logo or the progress bar at the bottom? Head to ‘Customize’ on the controller page. On the popup screen you will have the option to remove the logo and change the progress bar according to your needs. Do note, however, that these customization options require a Premium license.
4. Display a Countdown Timer and Clock Together
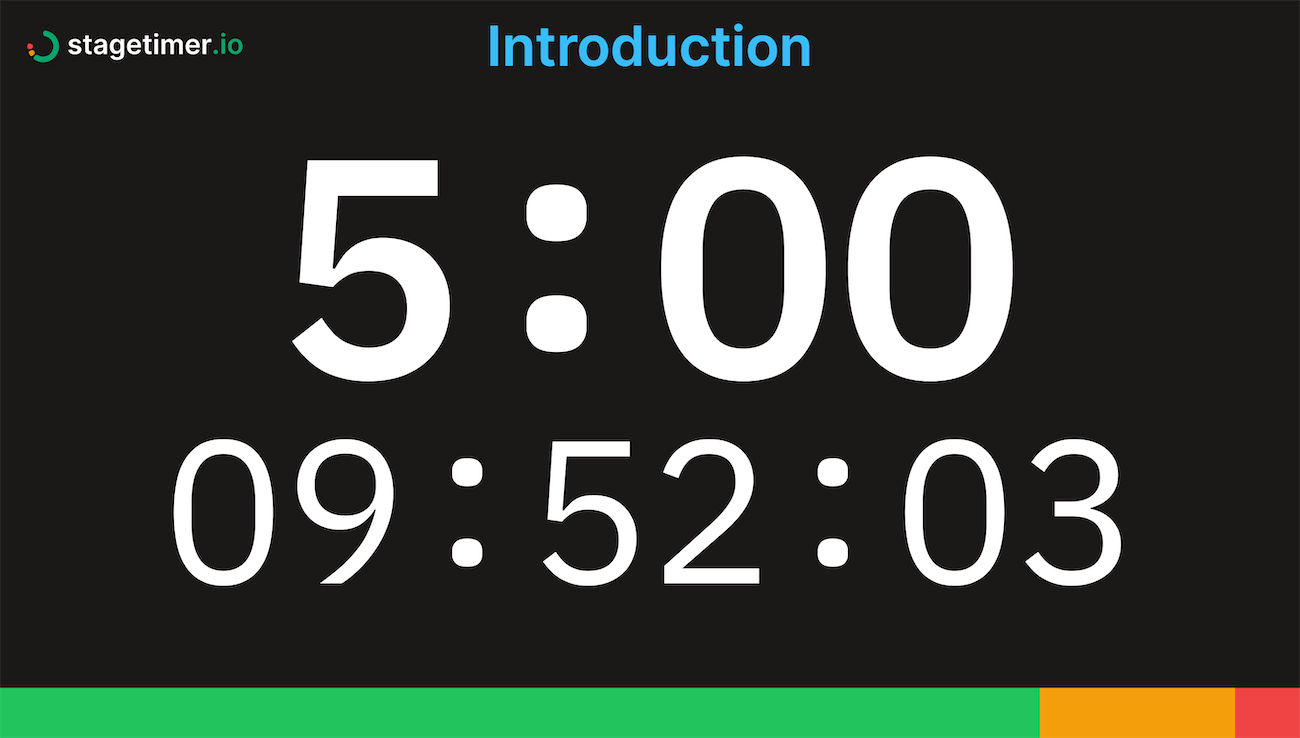
If you’d like a countdown timer alongside your clock, that’s easy too. Click on the gear icon on your timer and adjust the ‘Appearance’ to ‘Countdown + Time of Day’.

5. Share Your Timer Clock
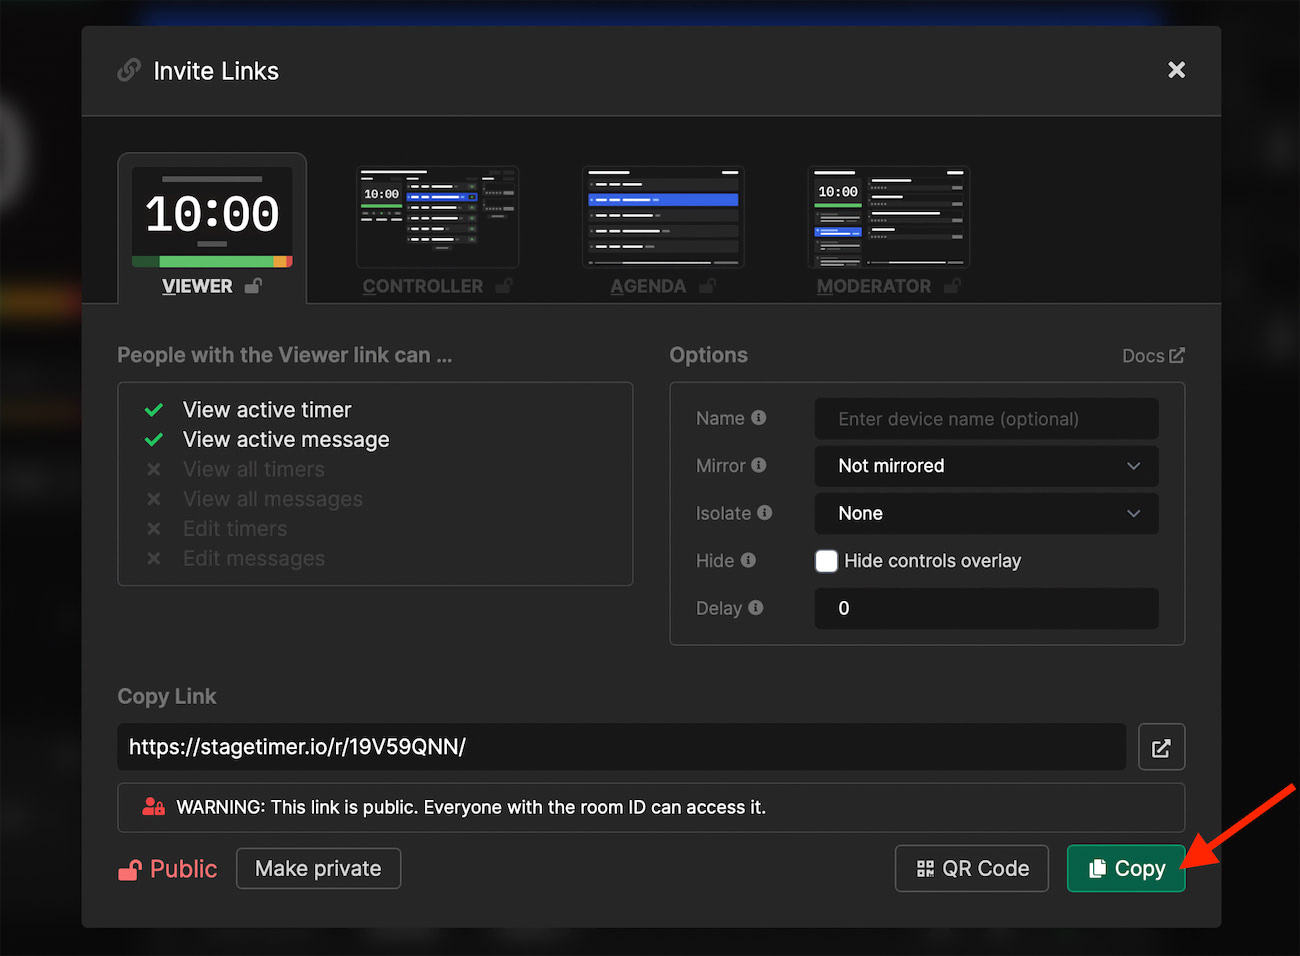
Want to share the timer clock with others? Stagetimer makes that a breeze. Once you’re happy with your setup, click on ‘Links’ on the controller page and copy the link from the ‘Viewer’ tab. You can share this link with anyone, and they’ll be able to see your timer without being able to edit it.

6. Take It Offline
Need to use your timer clock without internet? No problem. You can download the Stagetimer app for free and enjoy all the same features offline.
Ready to build your own timer clock? Create a timer with Stagetimer now.
