Shareable Online Countdown Timer
(1-Min Guide)

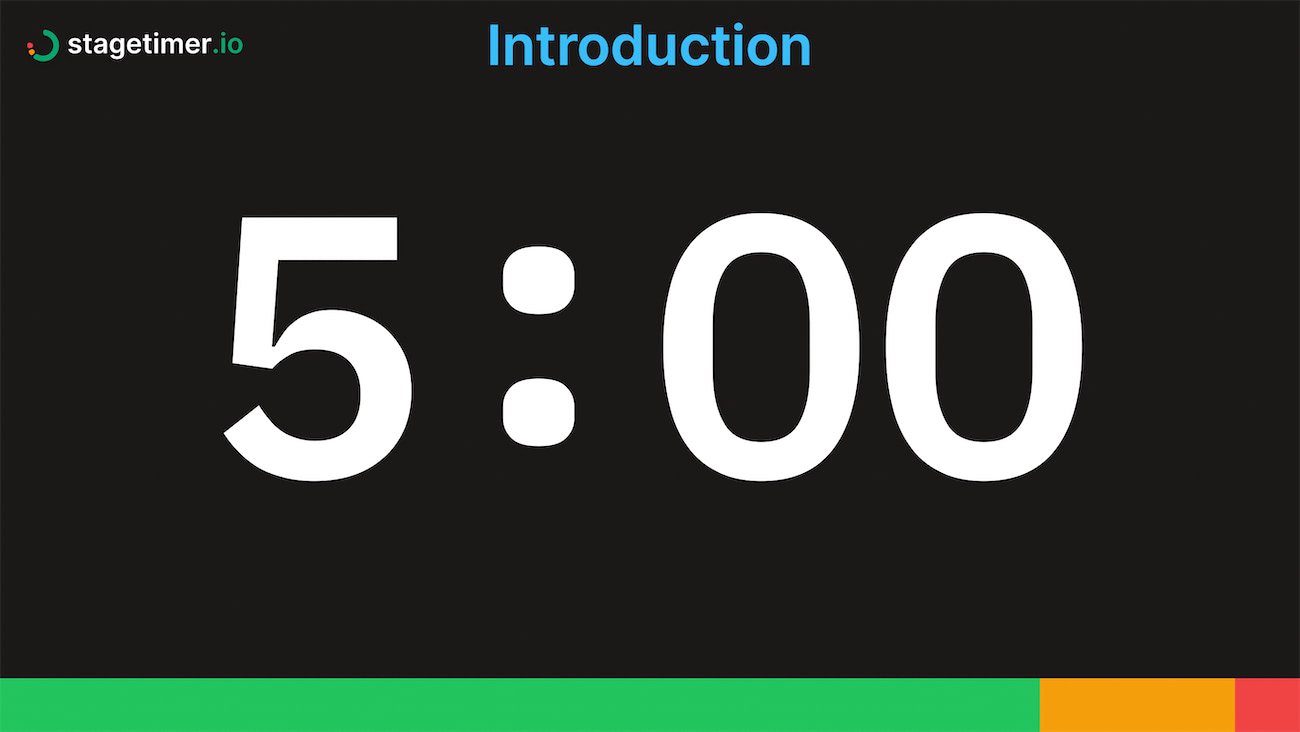
Need to create a countdown timer and share it with others? Here’s a simple guide on how to do it with Stagetimer.
Step 1: Create Your Timer
The first thing you’ll want to do is to create a timer on Stagetimer with the following link. The best part? It’s completely free!
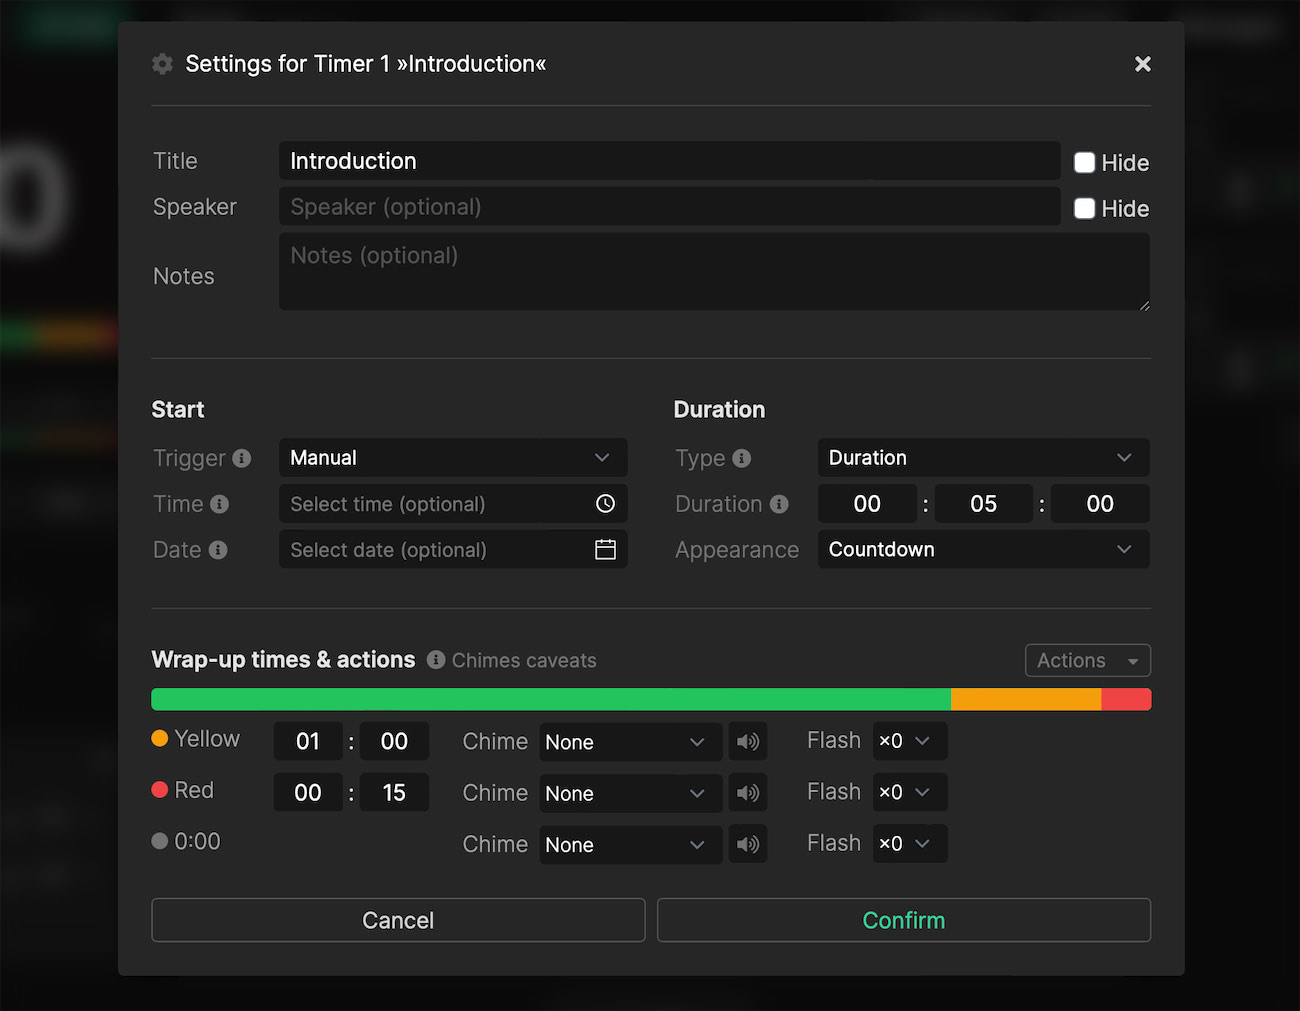
Step 2: Configure Your Timer
Once you’ve created your timer, you’re ready to customize it. Click on the gear icon on your timer to see all the setup options. Here, you can decide the duration of your timer, add a title, choose the appearance, and even input a speaker’s name and notes.
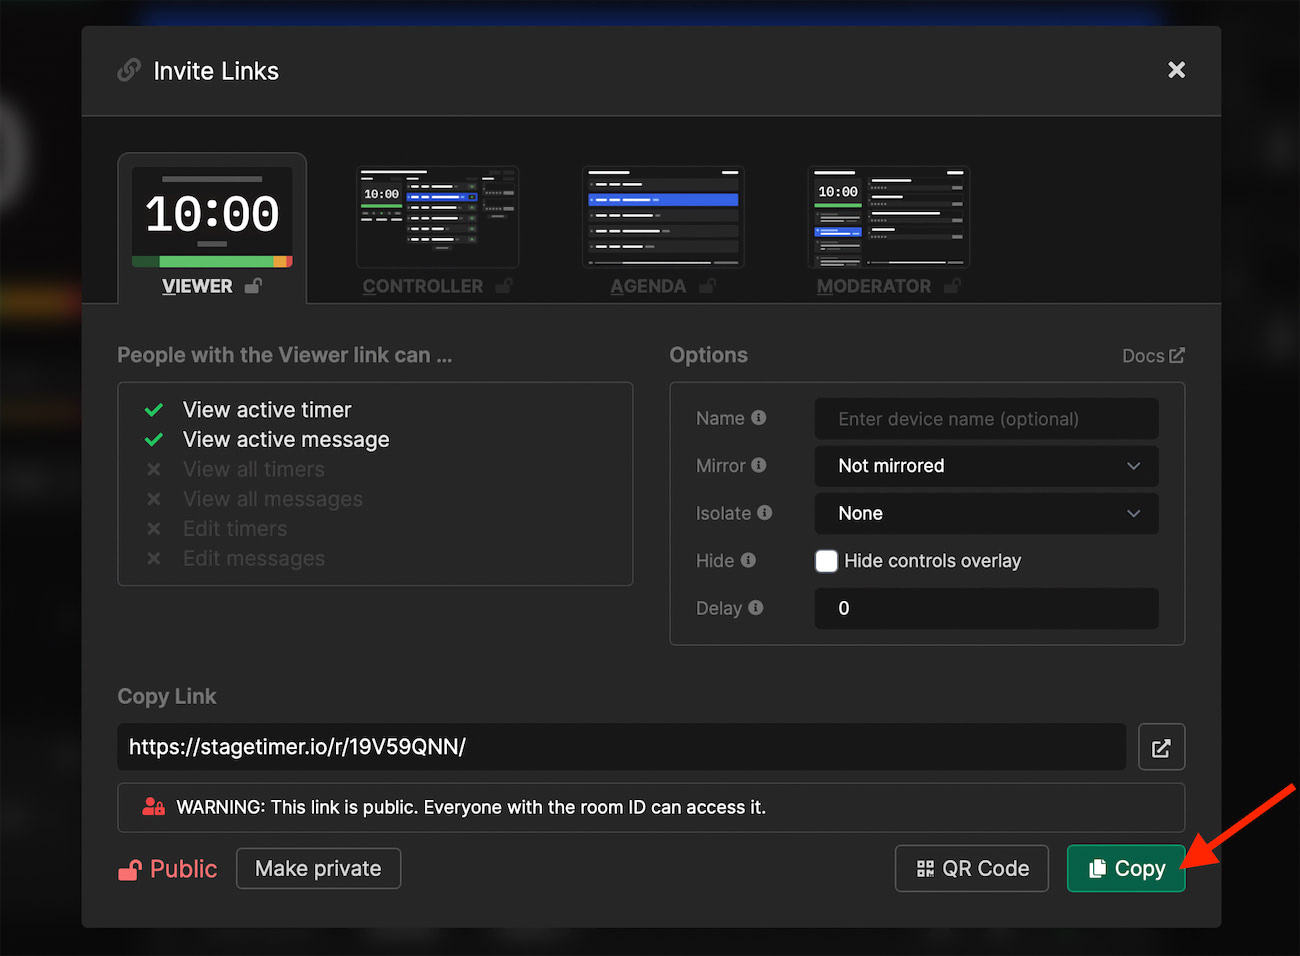
Step 3: Get a Shareable Link
With your timer all set, you’re ready to make it shareable. Simply click on ‘Links’ on the controller page, then copy the link under the viewer tab. This link can be shared with anyone, and they’ll be able to see your timer without being able to edit any of its information.
Step 4: Remote Control Your Timer
What’s more, Stagetimer allows you to remotely control your timers. After you create a room and set up your timers, you can adjust the start time, duration, schedule timers, and add extra information, all from a different location. This means your timer can be displayed on one screen while you control it from another.
Bonus: Desktop App Available
And if you’re worried about an unstable internet connection, don’t be! Stagetimer also offers an desktop app that you can download. This version has all the features of the web version, but runs locally on your computer, ensuring uninterrupted usage.
And there you have it. You’re all set to create, customize, share, and control your own countdown timers with Stagetimer. Create a timer for free anytime!