Setting up a Timer Clock on Stagetimer
(2-Min Guide)
 Liz Hermann
If you’re looking for a way to set up a timer clock on your web browser, Stagetimer makes it a breeze. This tutorial will walk you through the process of creating a timer clock and customizing its appearance using Stagetimer.
Create Your Timer
To get started, visit Stagetimer and click on “Create a timer”. This will direct you to the controller page, where you can begin customizing your timer.
Customize Your Timer Clock
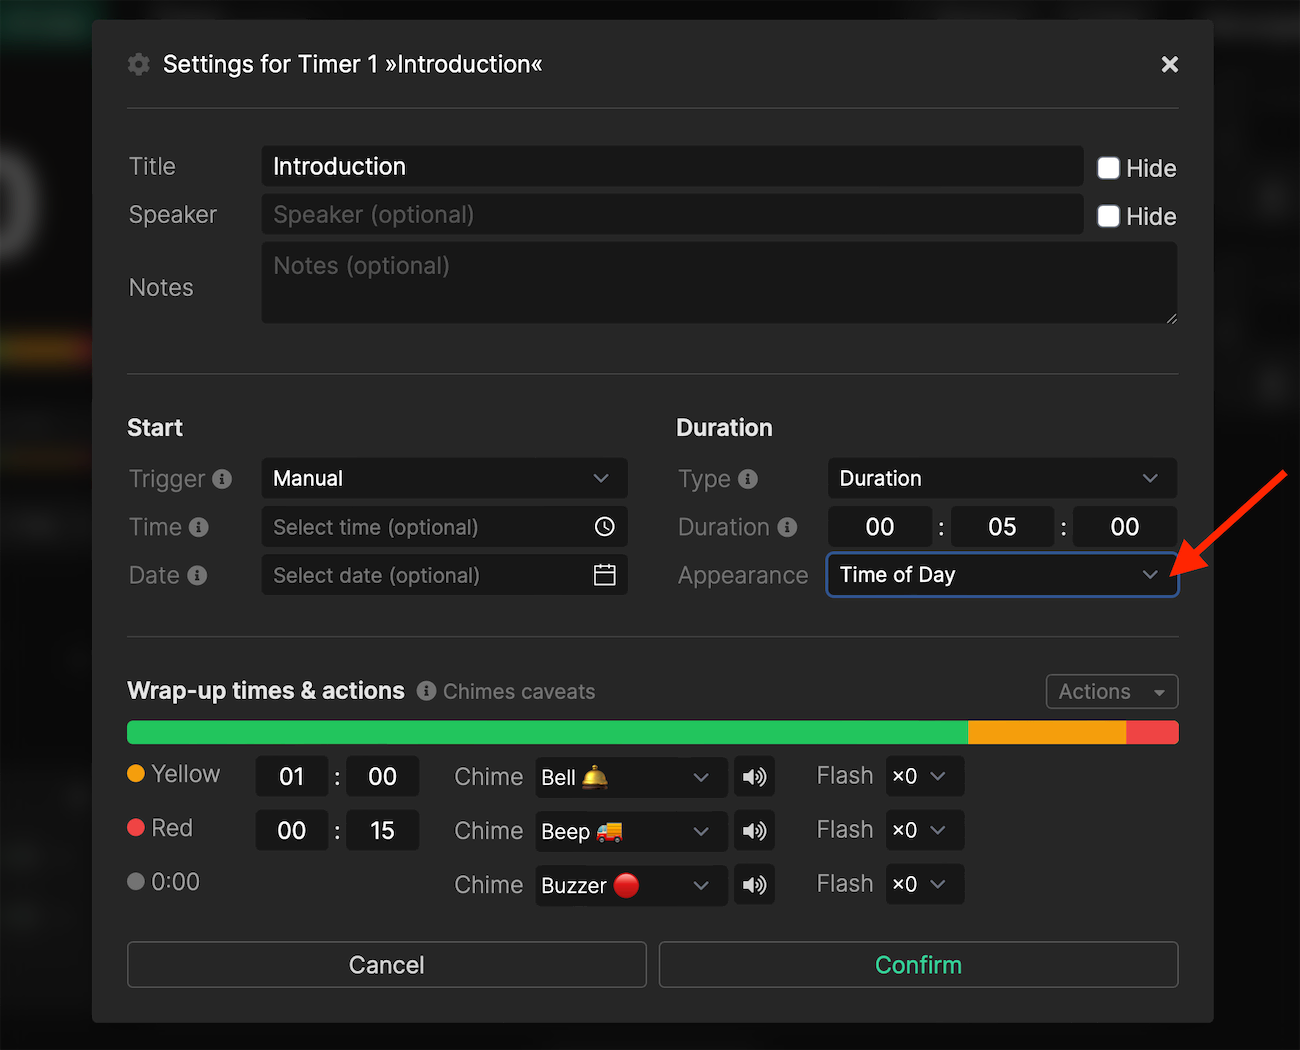
Once on the controller page, look for a gear icon on your timer. Clicking this will open a popup window that gives you access to various setup options.
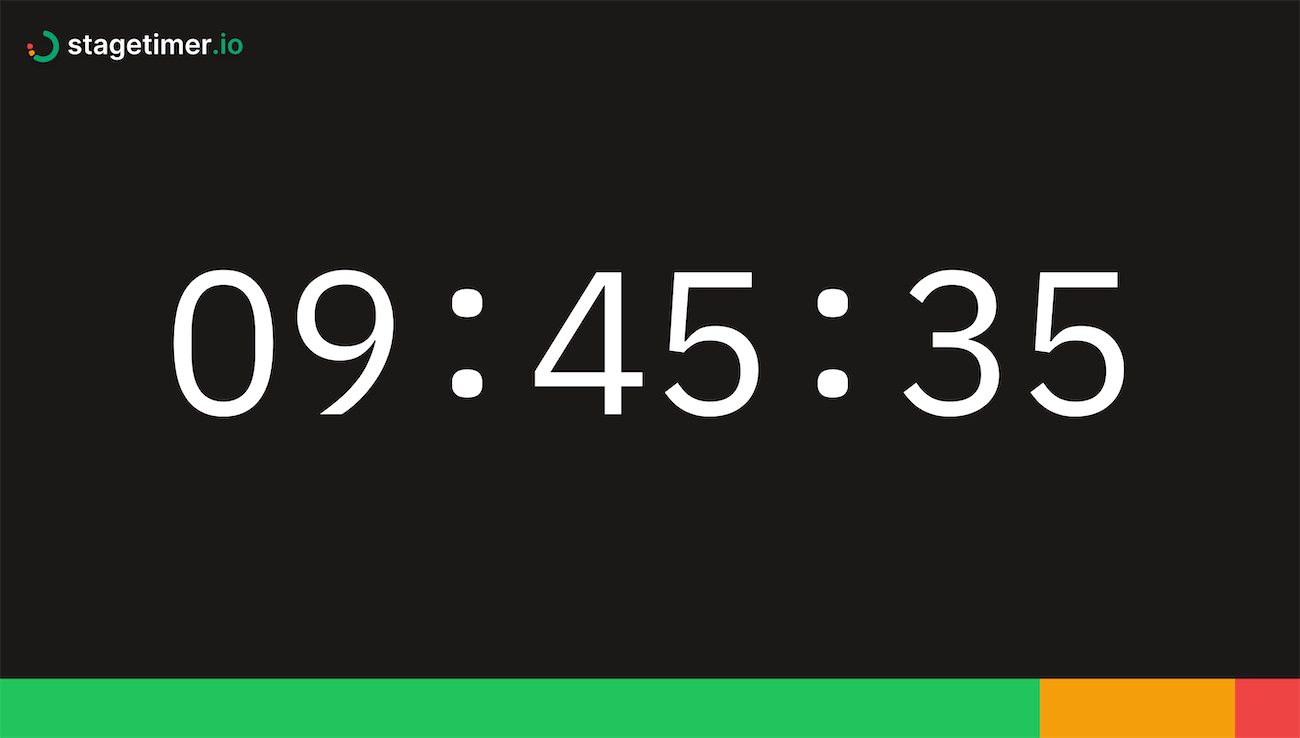
To turn your timer into a clock, navigate to ‘Duration’ and change the ‘Appearance’ of the timer to ‘Time of Day’. This will set your timer to display the current time.

If you prefer a minimalist look, select the checkbox in the popup window to hide the title of the timer. This way, only the clock will be displayed. To further customize your timer, such as removing the Stagetimer logo or the progress bar, navigate to ‘Customize’ on the controller page. Note that these features require a Pro or Premium license.
Show a Countdown Timer Alongside Your Clock
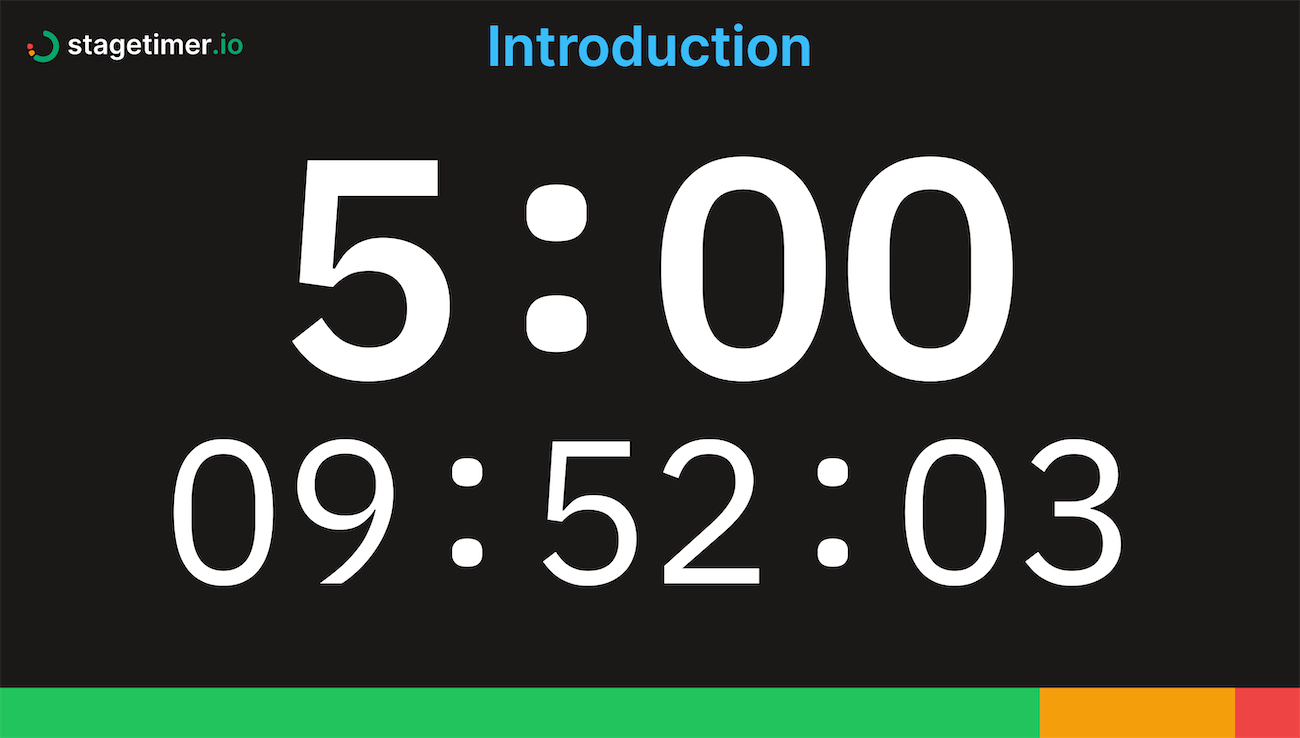
Want to display a countdown timer next to your clock? No problem. Click on the gear icon on your timer and change the ‘Appearance’ to ‘Countdown + Time of Day’.

Share Your Timer Clock
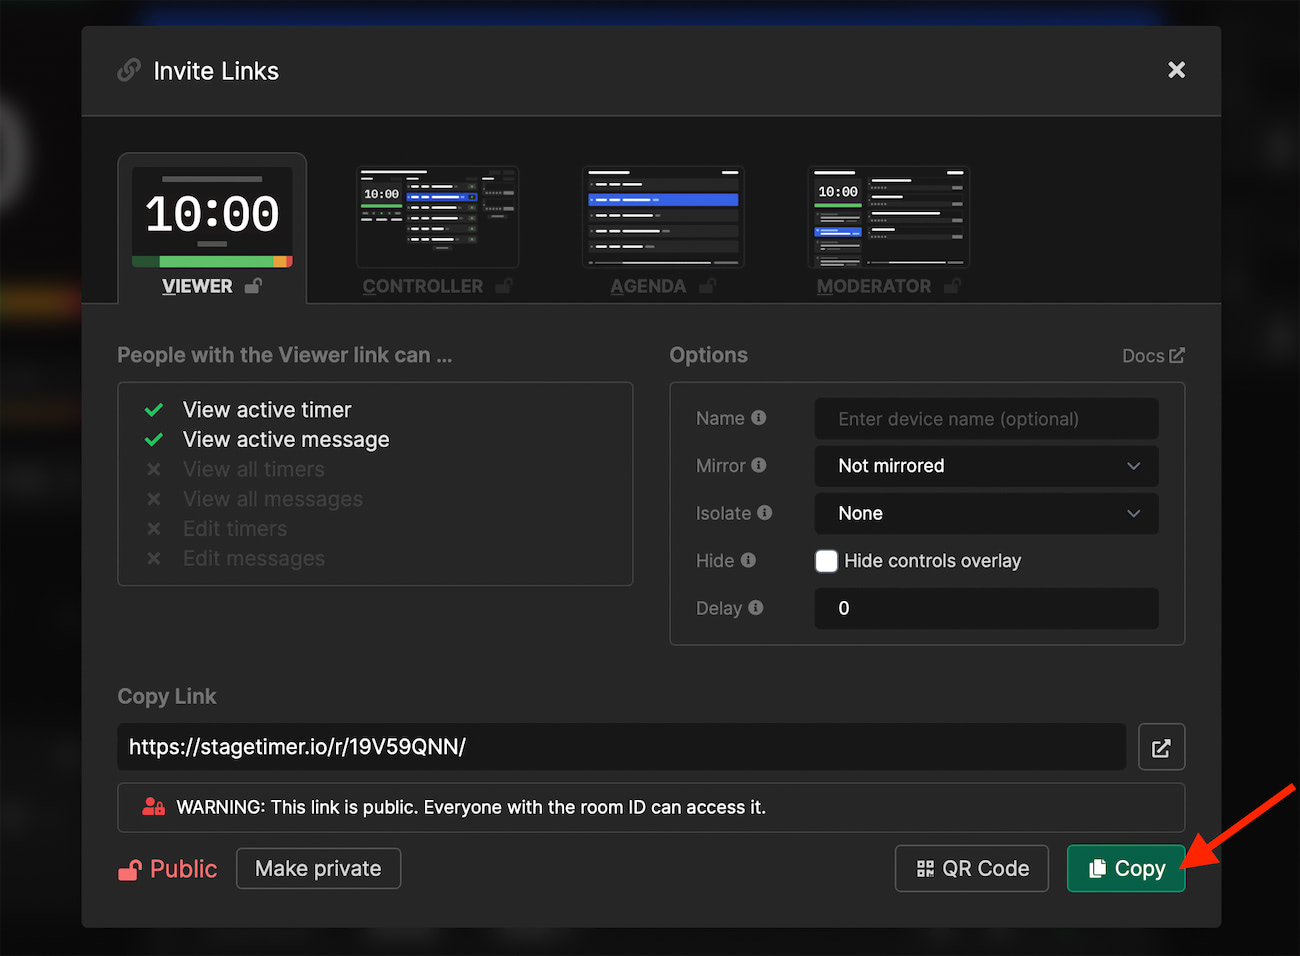
Sharing your timer clock with others is as simple as sharing a link or QR code. Click on ‘Links’ on the controller page and copy the link from the ‘Viewer’ tab. This link gives viewers access to your timer, without the ability to edit any information.

Take It Offline
If you need to run your timer clock offline, you can download the Stagetimer app. The app offers all the same features as the web version, but you can use it even without an internet connection.
Ready to create your own timer clock? Get started with Stagetimer now.