How to Use Stagetimer with vMix
vMix is a live video production and streaming software for Windows. You can display Stagetimer inside vMix as a browser input or as an NDI® source from the desktop app — useful for overlaying countdowns on your program feed or sending them to confidence monitors and projectors.
Prefer a video?
What you’ll need
- vMix installed on a Windows PC
- A Stagetimer room with at least one timer set up
- Optional: A Premium plan if you want to use custom outputs for overlay-ready timer displays
Adding Stagetimer to vMix
-
Open your Stagetimer room and click Output Links above the output preview. Select the output you want to display (Viewer, Agenda, Moderator, or a custom output) and copy the link.
-
In vMix, click Add Input in the bottom left corner and choose Web Browser.
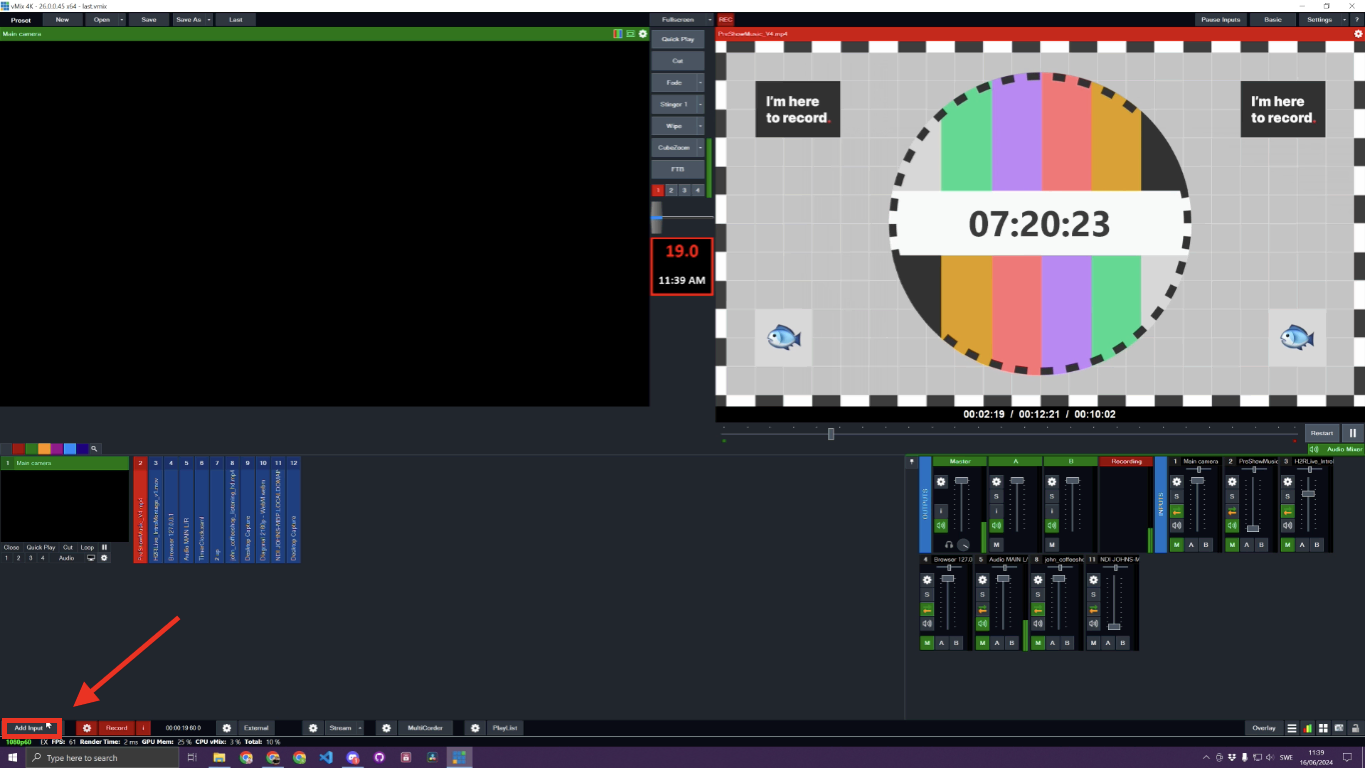
Adding a Web Browser input in vMix -
Paste the copied link into the URL field. Set the width to 1920 and height to 1080 (or match your production resolution).
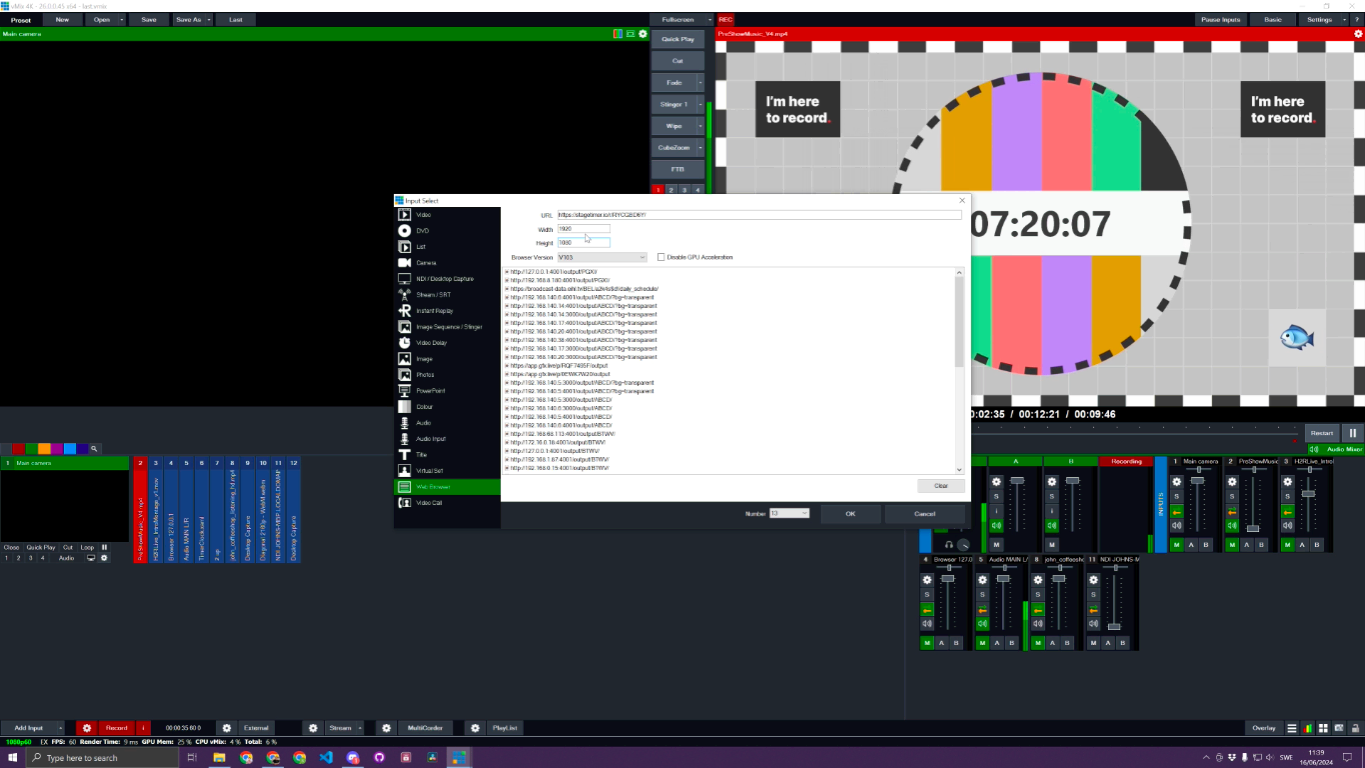
Configuring the Web Browser input -
Select the latest browser version and click OK.
-
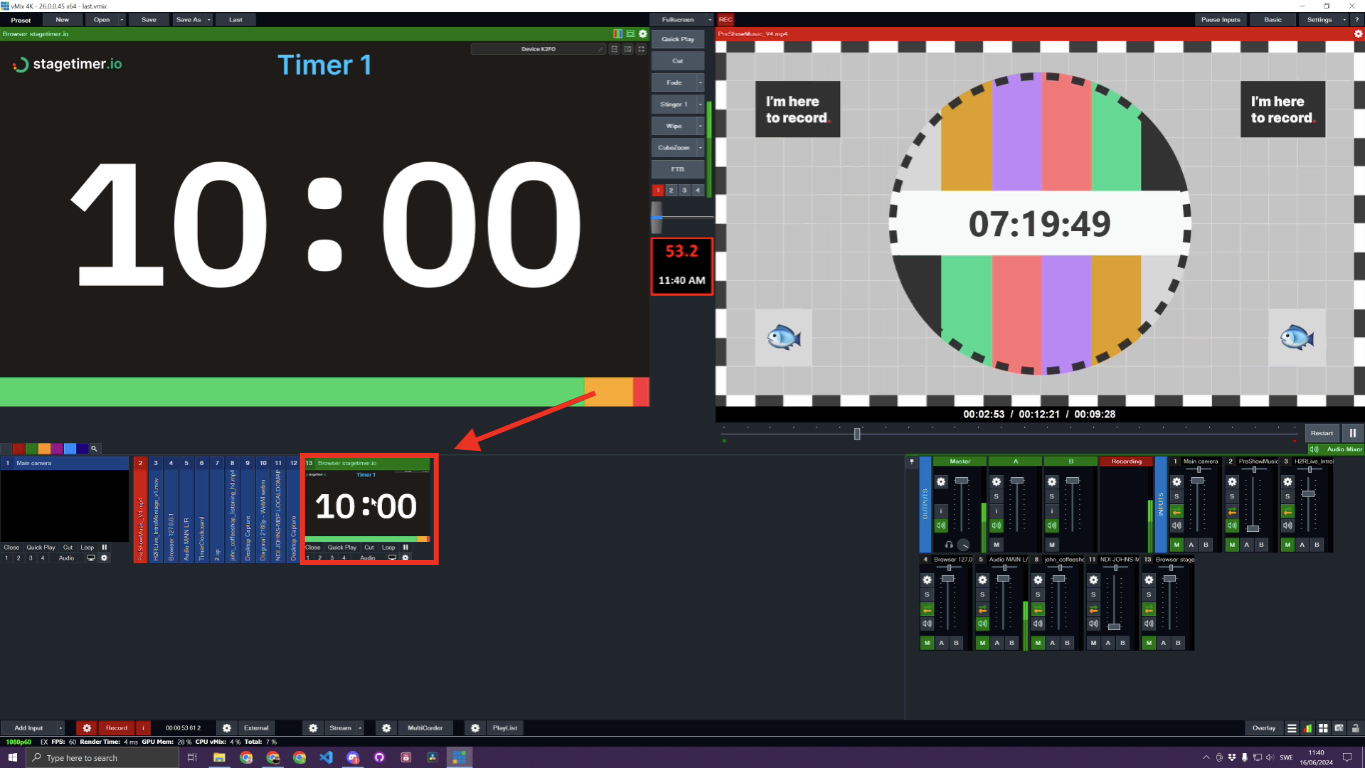
Click the newly added input to verify it’s displaying correctly.
Browser input settings
Right-click the Stagetimer input to access its options:
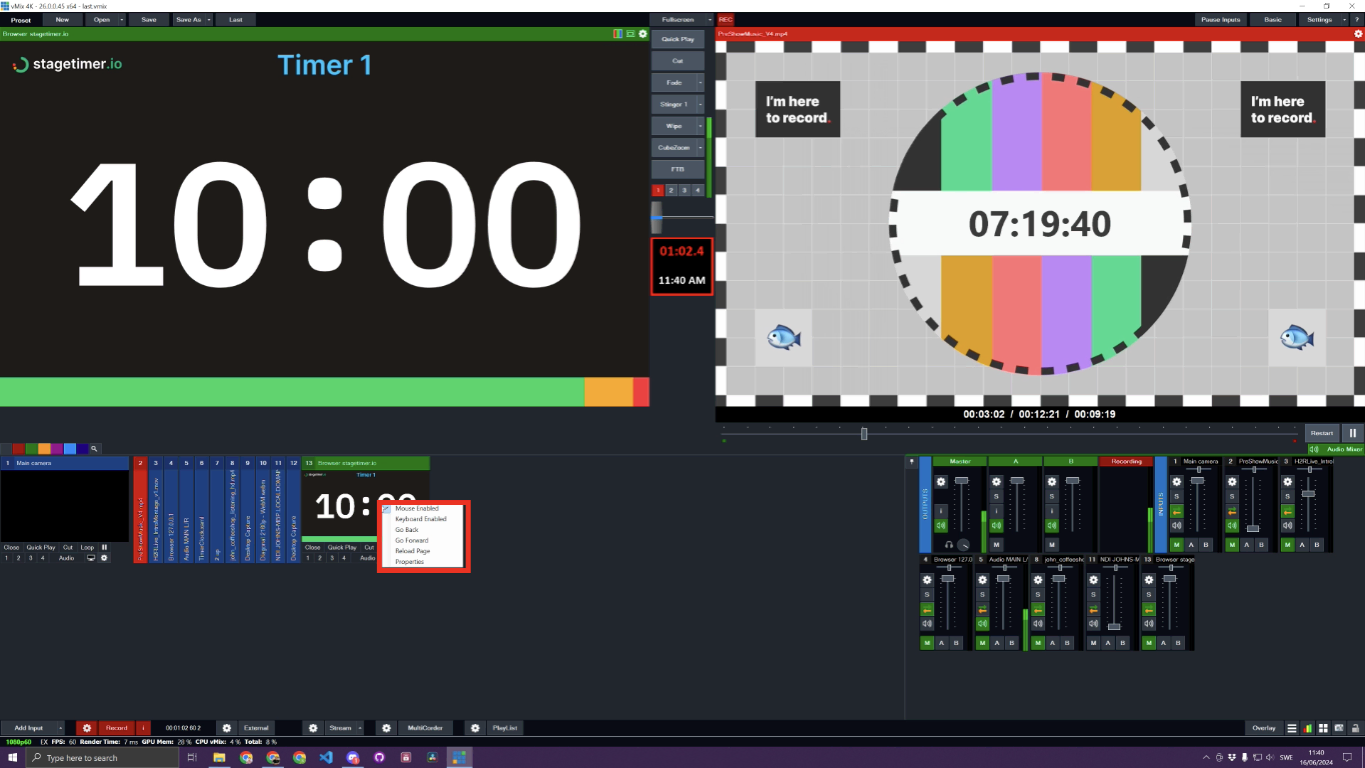
- Mouse and keyboard — Keep these disabled to prevent accidental interaction during a show.
- Navigate / Change URL — Useful if you need to switch to a different output link mid-production.
- Reload — Forces the page to refresh if the timer ever gets stuck (rare, but good to know).
Display on external outputs
You don’t have to show Stagetimer in your main program feed. vMix can route any input to a secondary screen — useful for confidence monitors, projectors, or LED walls.
-
In the bottom left corner of vMix, click External Outputs.
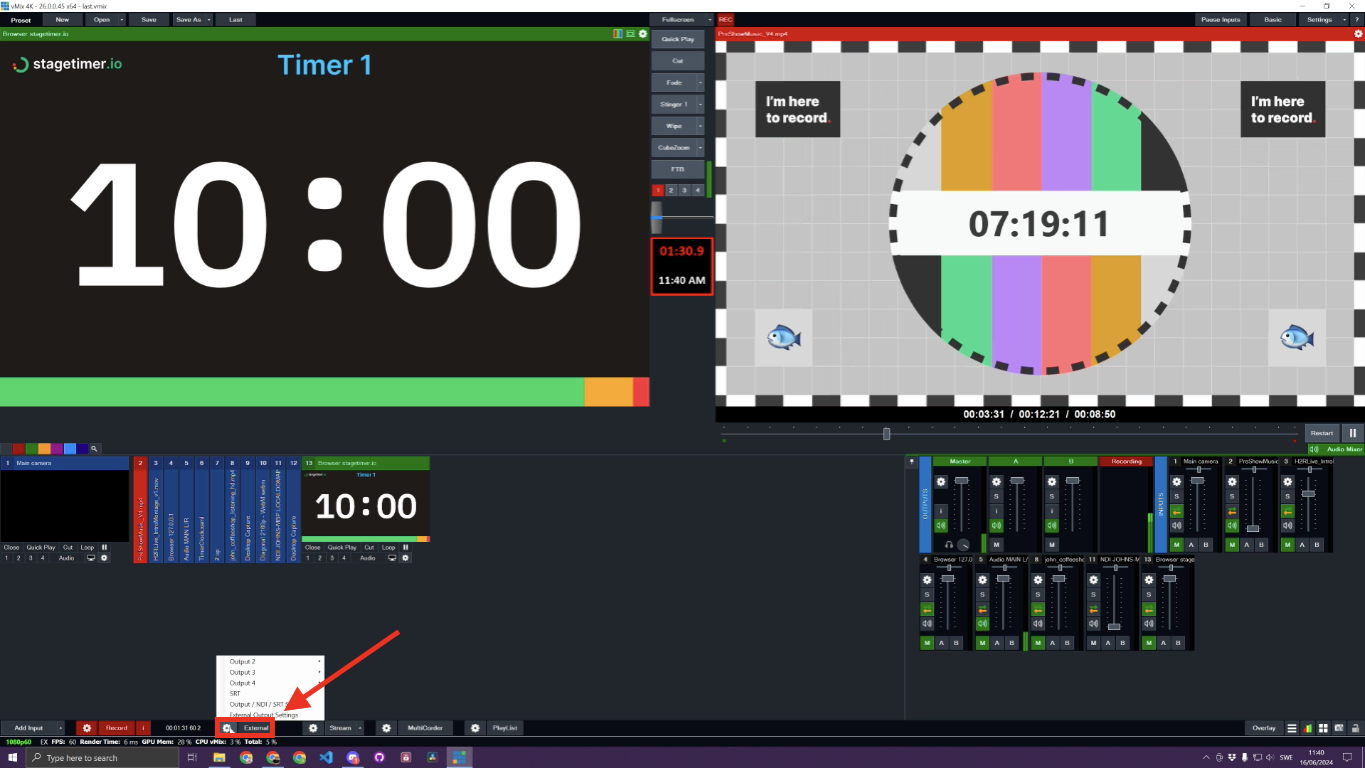
External Outputs in vMix -
Select an output number (e.g., Output 2) and assign it to your Stagetimer browser input.
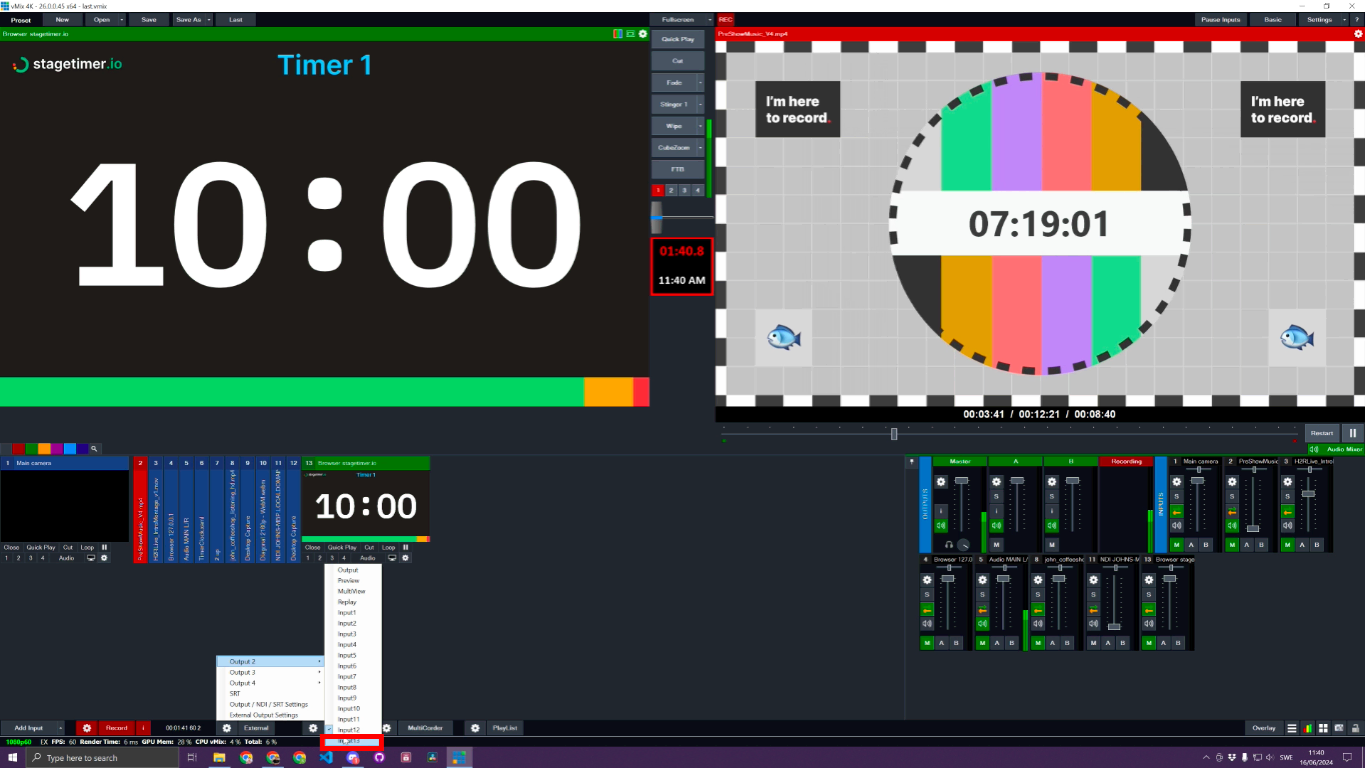
Assigning Stagetimer to an external output -
Connect a monitor or projector to the corresponding output on your system. The timer will display fullscreen on that screen.
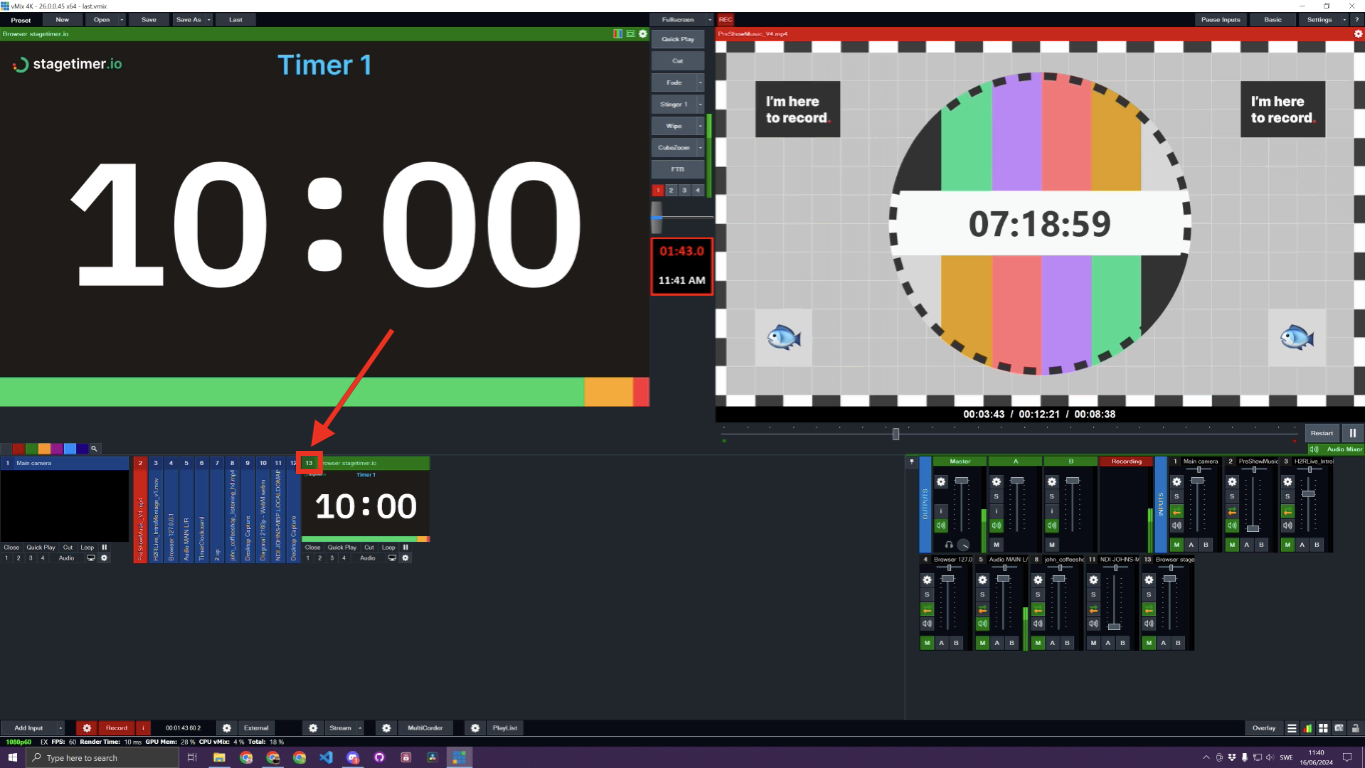
Stagetimer displayed on an external output
If you only need Stagetimer on external screens, right-click the input and remove it from your main production layers to keep your program view clean.
NDI® Output (Desktop App)
If you’re using the Stagetimer desktop app, you can skip browser inputs entirely and receive timer displays as NDI video sources. vMix has built-in NDI support — no plugins needed.
How it works
The desktop app sends each timer output (Viewer, Agenda, custom outputs, etc.) as a separate NDI source on your local network. vMix discovers these sources automatically. The output renders at 1920×1080 at 30fps. With a Premium plan, you can set transparent backgrounds per output — the NDI feed carries the alpha channel through, so you can composite timers directly over your video without chroma keying.
Adding an NDI source in vMix
- Make sure the Stagetimer desktop app is running and NDI output is enabled (it’s on by default).
- Open a controller for the room you want to use. This advertises NDI sources for that room’s outputs.
- In vMix, click Add Input and choose NDI / Desktop Capture.
- Select the Stagetimer source from the list. It will be named something like
HOSTNAME (Stagetimer - Room Name - Output Name). - The timer appears as a standard vMix input — you can overlay it, route it to external outputs, or use it on your multiview.
If the source doesn’t appear in the list, you can copy the exact NDI source name from the Output Links popup in Stagetimer and enter it manually.
For more details on NDI source naming, lifecycle, and Live Connection counting, see the NDI output documentation.
Tips & troubleshooting
- Resolution — Match the browser input resolution to your production resolution (typically 1920×1080). Using a lower resolution like 1280×720 works but may look soft when scaled up.
- Custom outputs — Use custom outputs to build overlay-ready displays with just the elements you need (timer, message, agenda). This avoids having to crop or mask the standard Viewer output.
- Transparent background — On Premium plans, you can set the output background to transparent. Combined with vMix’s alpha channel support, this gives you a clean overlay without chroma keying.
- Performance — Browser inputs use GPU resources. If you’re running many inputs, keep the timer on a simple output to minimize load.
- Timer not updating — If the timer freezes, right-click the input and reload the page. Check your internet connection if the issue persists.
- API control — On paid plans, you can control Stagetimer from vMix using the Stagetimer API with vMix scripting. This enables starting, stopping, and switching timers directly from your vMix workflow.