Integrate Stagetimer with ATEM Switchers - Complete Setup Guide
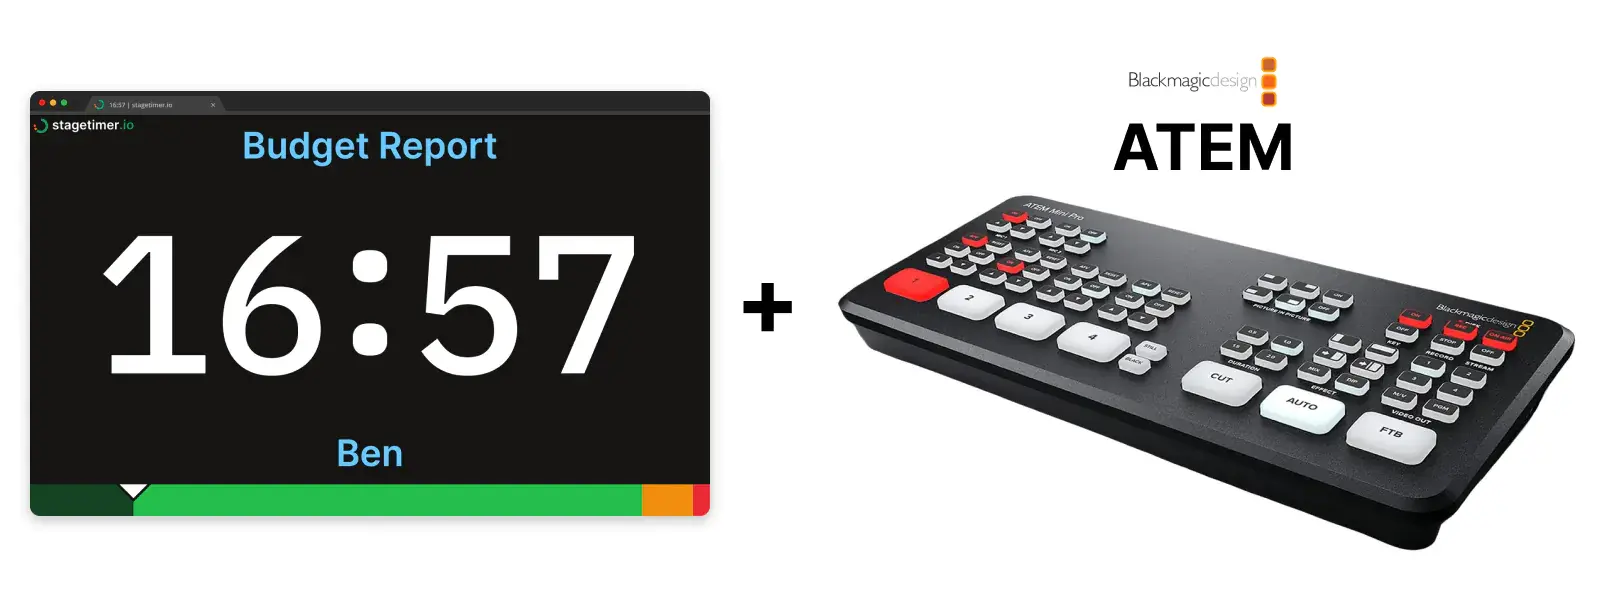
Want to add professional countdown timers to your live production? This guide shows you how to integrate Stagetimer with your Blackmagic ATEM switcher to display accurate, customizable timers for your live events, broadcasts, or streams.

Compatible with the entire ATEM family - from the compact ATEM Mini to the powerful ATEM Constellation 8K - Stagetimer brings professional timing capabilities to productions of any size. This guide walks you through two methods of integration: chroma key and luma key.
You’ll need:
- A Blackmagic ATEM switcher
- A computer with HDMI output running Stagetimer
- A HDMI cable
- ATEM Software Control
Chroma Method
1 - Connect
Start by connecting your laptop or computer to your ATEM switcher. Typically this is done by using a HDMI cable from the computer and attaching that to one of the inputs on the ATEM.
You’ll want to enable “Extended Desktop” mode on this computer as you will not want to mirror your displays.
2 - Open the Timer Display
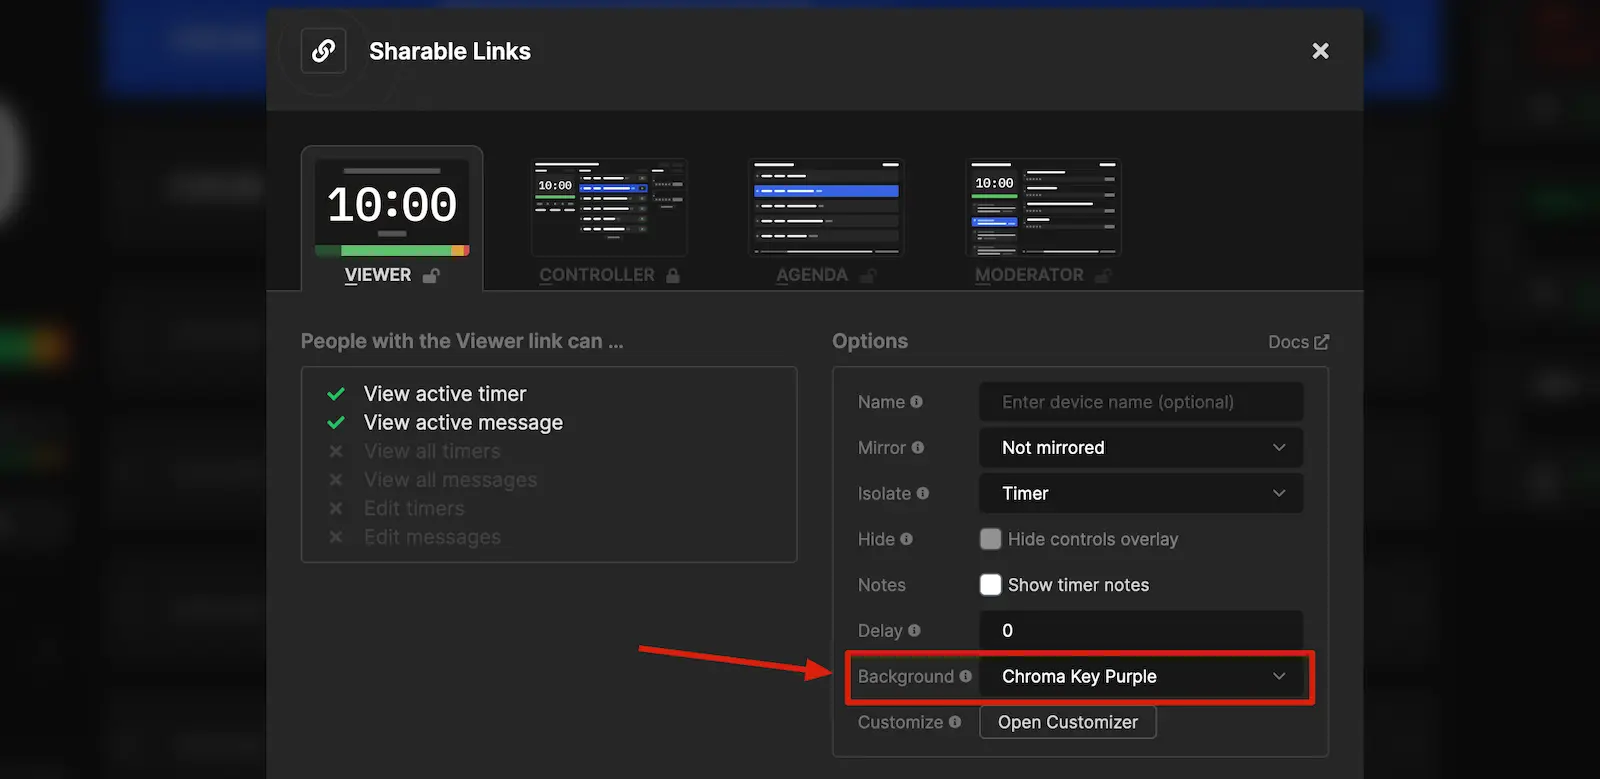
- Click on “Share” to open the “Sharable Links” popup
- Choose “Chroma Key Purple” (or another chroma key color) as the background
- Optional: Select “Isolate: Timer” if you only want to show the countdown without additional elements
- Click on “open link in new tab”
- Drag the new window to your extended display
- Make the window fullscreen (typically F11 or Cmd/Ctrl + Shift + F)


3 - ATEM Upstream Key 1
Open up the ATEM Software Control, and navigate to the Palettes on the right.
Expand the Upstream Key 1 section and open the Chroma tab.

Set the source
Set the Fill Source to whichever input your Stagetimer computer is connected to.
Set the colour
Be sure to set the Chroma Sample colour by clicking the Chroma Sample option and sampling an area of the purple (or your chosen chroma key color) background.
4 - Switch it on
The system is all set up, now just turn on Upstream Key 1 to see your timer in action.

Luma Method
Step 1 & 2
Follow steps 1 and the first part of step 2 above to connect your computer and open the Share popup.
3 - Setting the background
For the luma keying to work, you’ll need a black background:
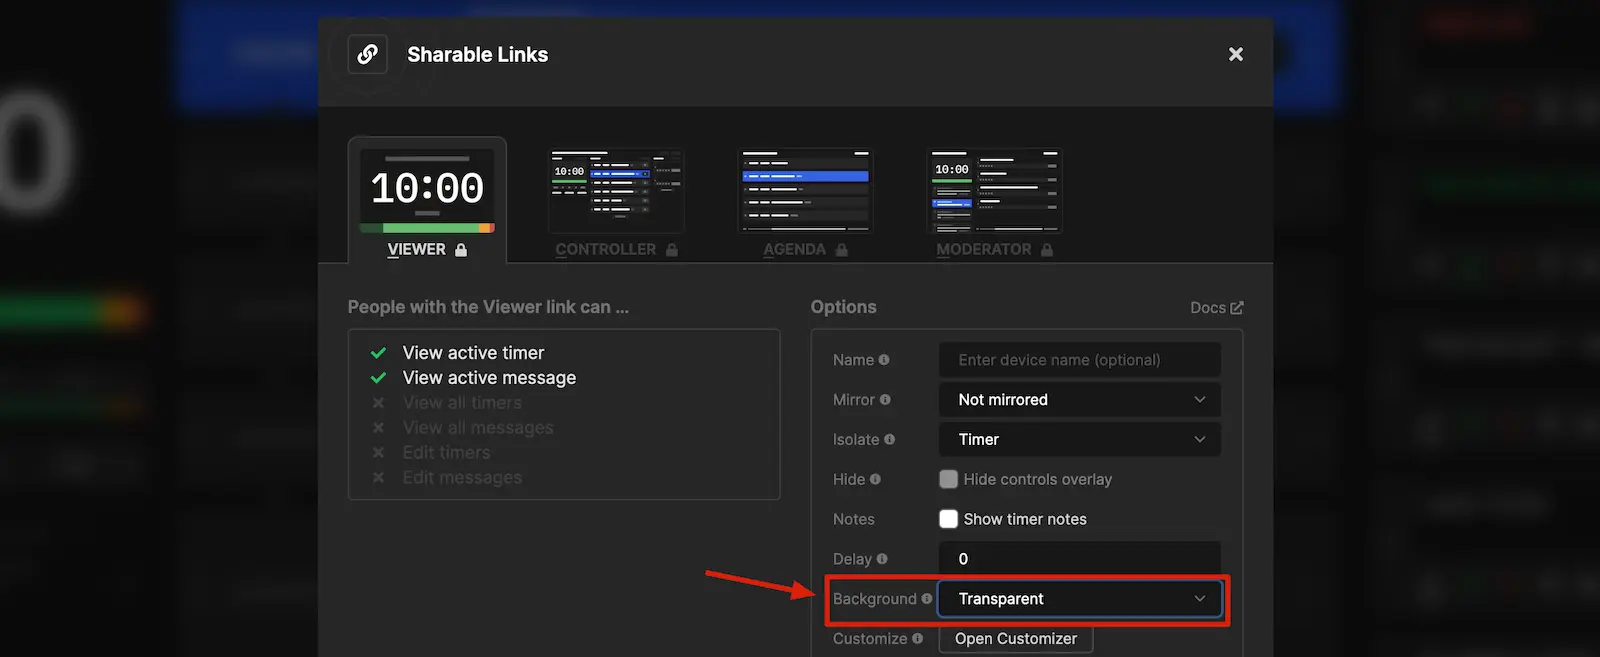
- In the “Sharable Links” popup use the default background (which is slightly off-black)
- Optional: Select “Isolate: Timer” if you only want to show the countdown
- Open and position the window as described in the chroma method


4 - ATEM Upstream Key 1
Open up the ATEM Software Control, and navigate to the Palettes on the right.
Expand the Upstream Key 1 section and open the Luma tab.

Set the source
Set both the Fill Source and Key Source to whichever input your Stagetimer computer is connected to.
Uncheck Pre Multiplied Key
Be sure to uncheck Pre Multiplied Key at this point to avoid strange effects.
5 - Switch it on
The system is all set up, now just turn on Upstream Key 1 to see your timer in action.
6 - Refine the key
Fine-tune the Pre Multiplied Key settings:
- Set
Clipto a low number to remove darker parts of the image - Adjust
Gainto control how much of the dark image is removed
